Phishing Campaigns allow you to target specific groups with certain scenarios during a pre-specified time period, all whilst your continuous programme continues in the background.
This can be used for events, competitions, or if you want to run a targeted campaign within your organisation.
Good to know
- You need to be in Continuous phishing mode, if you are in test mode, campaigns will not be sent out
- If you select multiple email scenarios for one campaigns, each person involved in the campaigns will get one email from the pool of selected scenarios.
- Campaigns will only be sent to users as per the 'Included Users' tab
Steps
- Login to your CultureAI admin dashboard
- Click on the cog at the top of your dashboard
- Click the 'Integrations' tab
- Click on the 'Email Phishing' button
- Look along the top bar and click 'Campaigns'
(If you can't see this, click the 'More' drop down and you will find it there)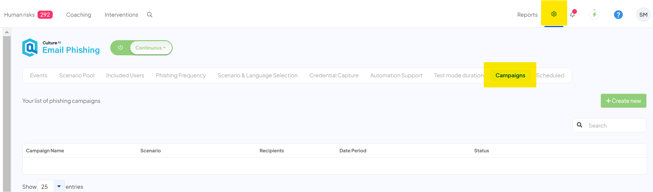
- Click the 'Create New' button
A new window with appear with all your settings for your campaign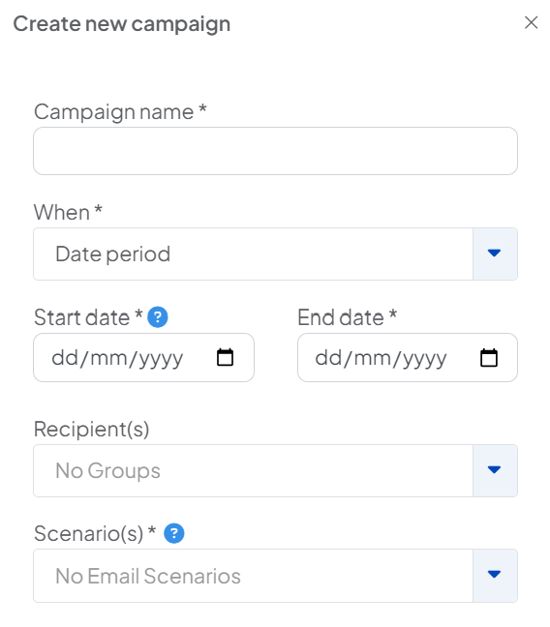
- Fill out your campaign name, be sure to name it something which is easy to identify. For example, if you're making a campaign for a specific group, include that in the name
- Click the rest of the drop-down boxes to choose how long you'd like the campaign to run, which groups you want to be included and what scenarios you'd like to send out. You can choose to send out just one, or multiple.
- Clicking the 'When' drop-down will give you two options;
Date period - Emails will be sent across the the date range that you select
Exact date and time only - One set of emails will be sent on the set day and time that you choose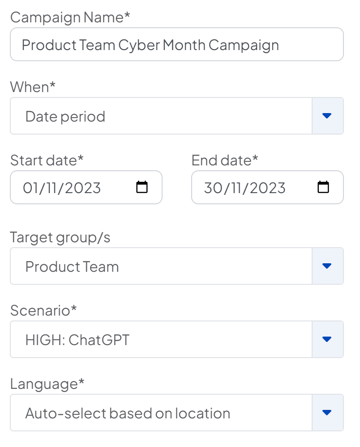
- Once you're done, click the 'Create' button at the bottom of the window
- Your new campaign will now be visible! If you'd like to end a campaign early, click the three dots next to the campaign and click 'End campaign'
