Supported Features
The following features are supported:
- Service Provider (SP)-Initiated Authentication (SSO) Flow
Okta Configuration Steps
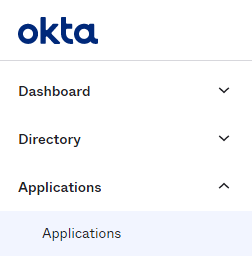
In your OKTA control panel, select "Applications > Applications" from the side-menu and "Browse App Catalog" from the Applications screen.
 x
x
Search for and add the CultureAI application:

In the application options, open the Sign on Tab:

CultureAI Setup
- Head to the Single Sign On section in the Users and Access section of your dashboard
- Click the "Configure SSO" button and select "Okta"
- A new window should have popped up with the Okta set-up wizard
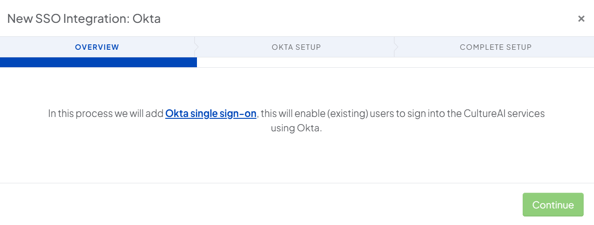
- Click "Continue" to enter your ID
- Follow the steps in the Wizard to set-up the CultureAI Okta app
- Click "Continue" to finish setting up your sync