The CultureAI platform supports a variety of user import options including manual import where you are testing the platform or do not have a supported directory service.
This article covers:
- Individual user creation
- Bulk user creation via CSV
We recommended that where possible a standard directory such as Azure AD, GSuite or OKTA are used, lowering the administrative burden and ensuring that the platform always has the latest information.
Please note it is not currently possible to remove users via the CSV file upload.
Individual user creation
- Login to your CultureAI admin dashboard
- Click the Configuration cog ⚙️
- Click the 'Users & Access' tab
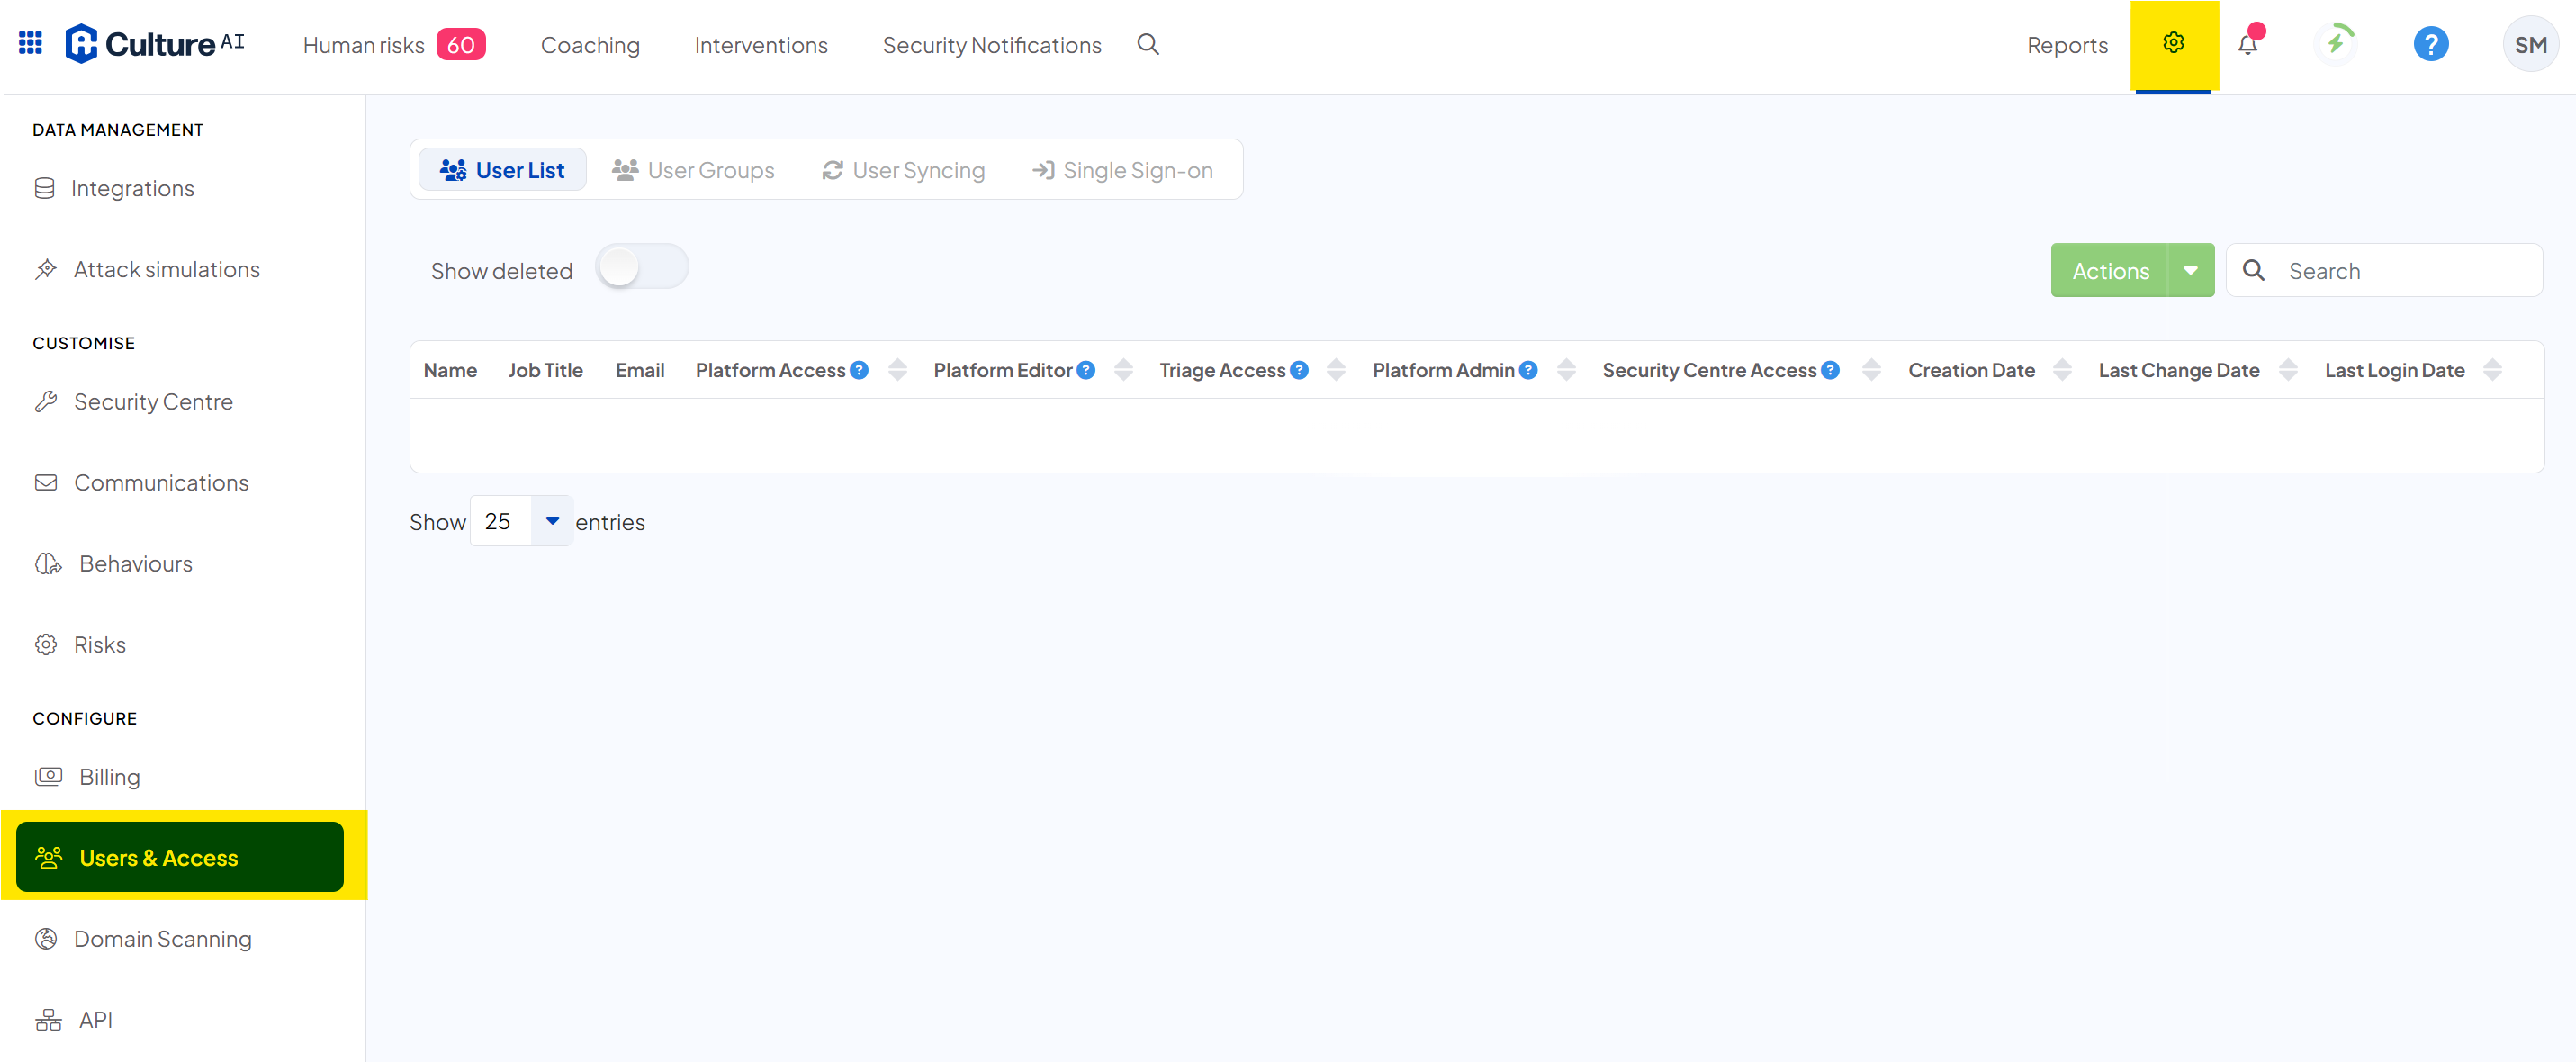
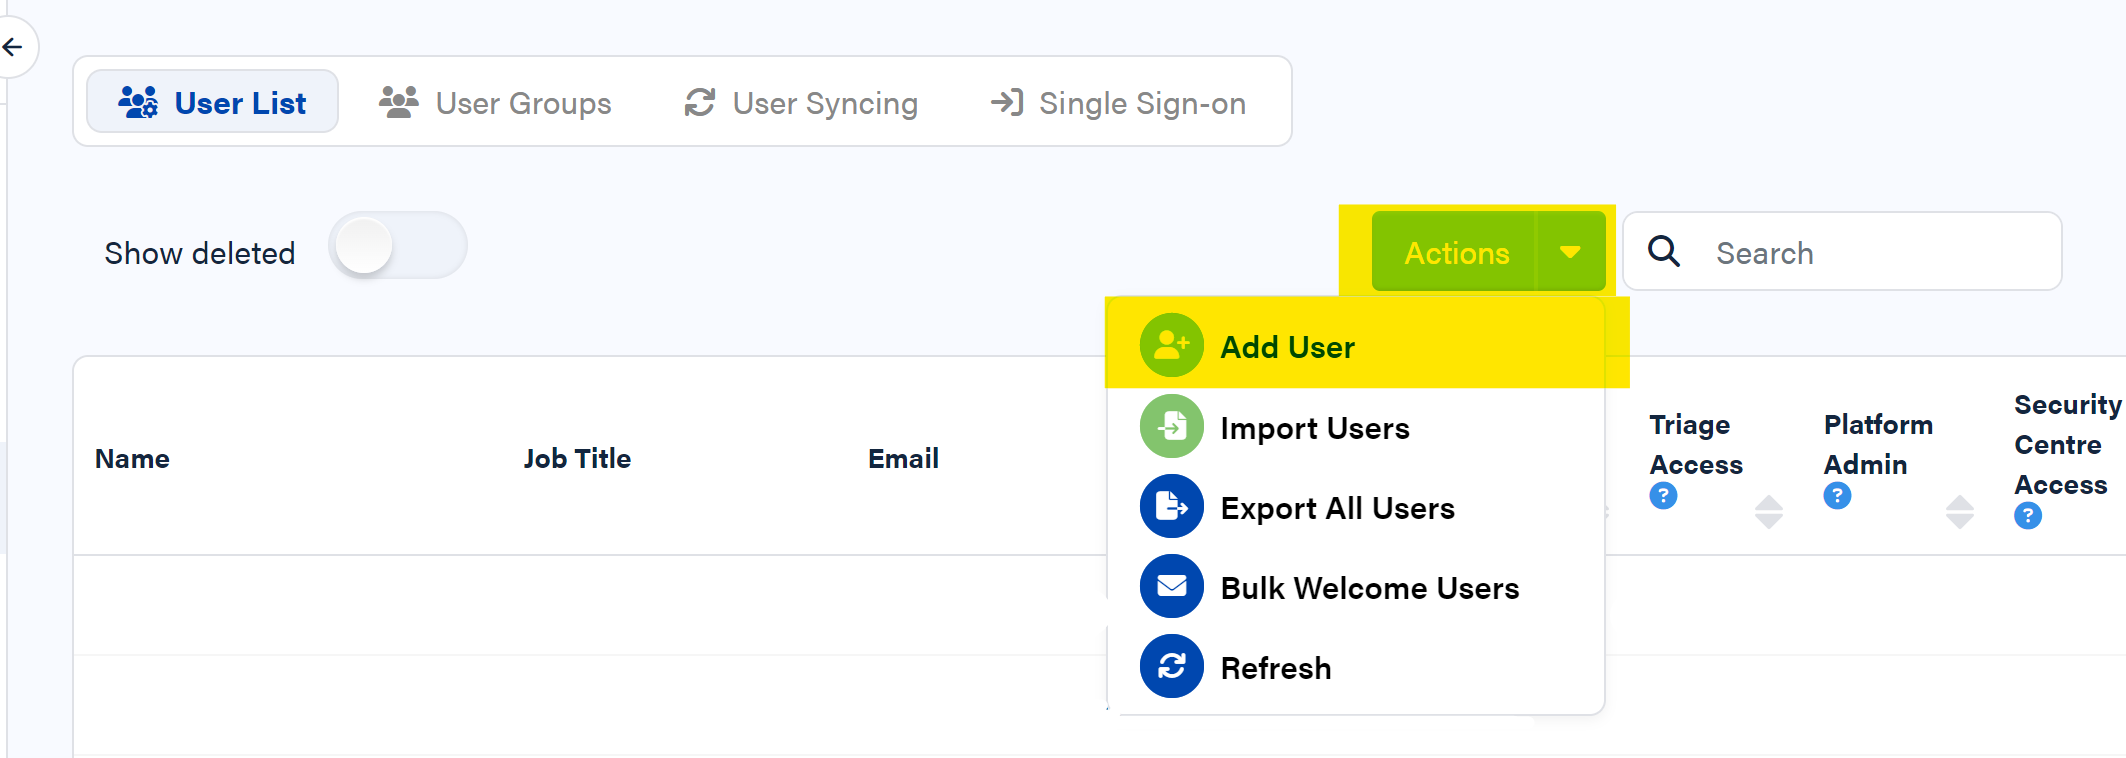
- Click the 'Actions' dropdown then press 'Add Users'
- A new window will pop up where you can enter the details for your new user:
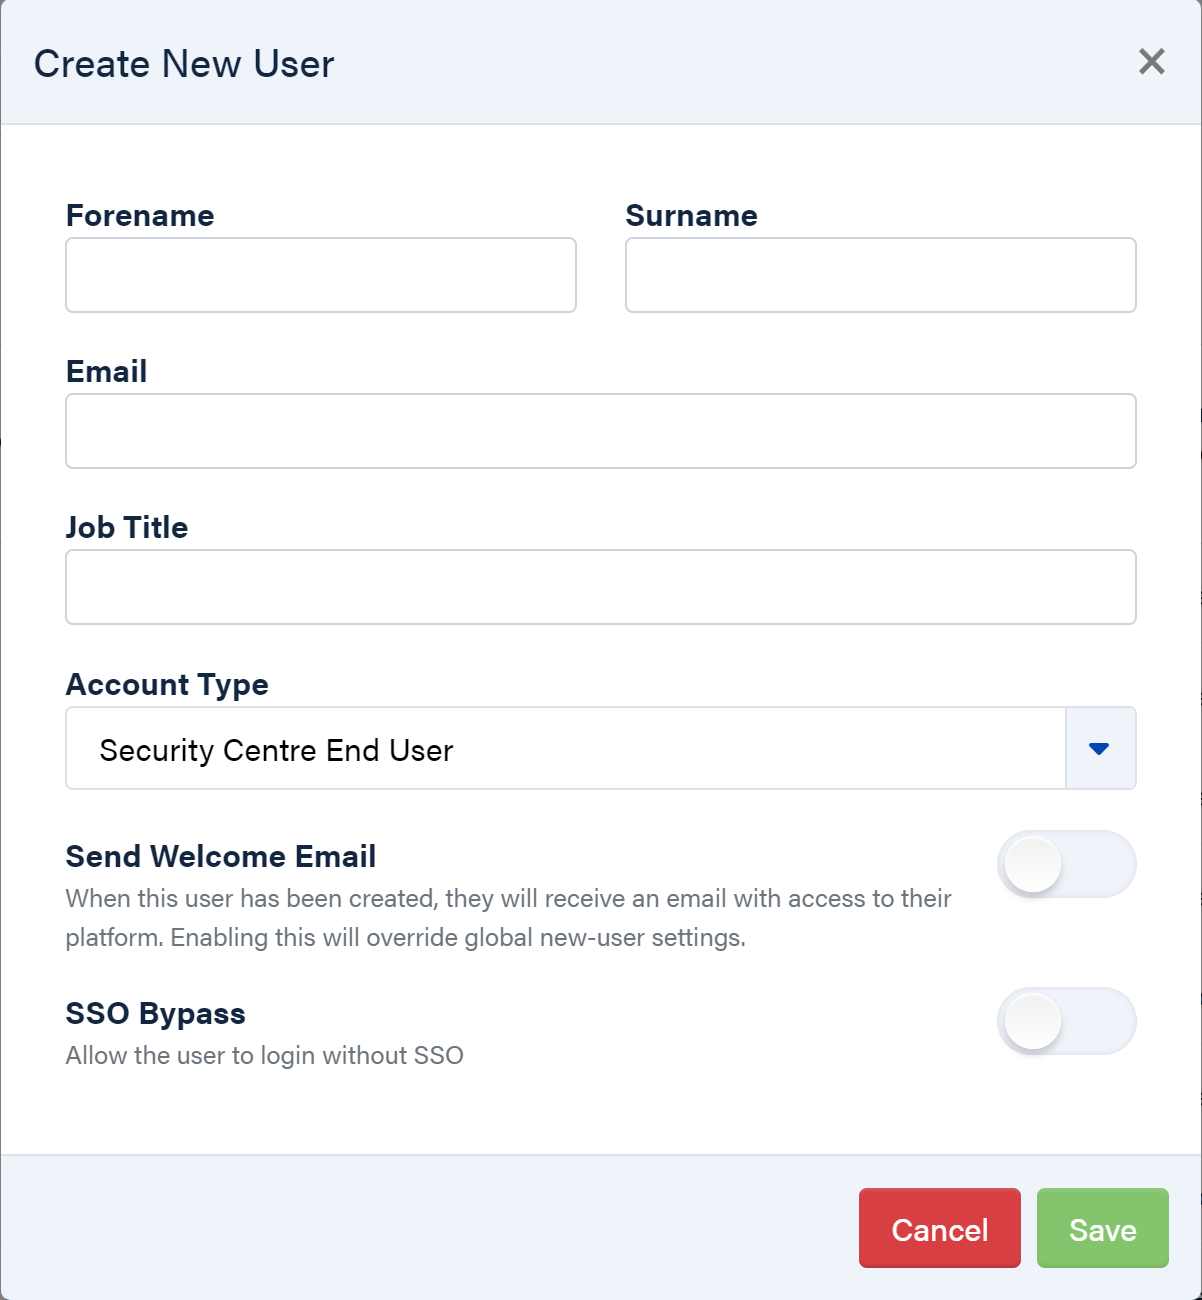
To understand the different access levels, please click here to view our guide.
If you would like to send them a welcome email which will contains a link to set the password (where single-sign-on is not enabled) you can also tick "Send Welcome Email". If you choose not to do this now, you can send individual or bulk welcome emails at a later date.
SSO Bypass
If you select SSO Bypass (for example if there are employees you wish to have access to the Security Centre who are not part of your Active Directory sync) you will need to send the employee in question a welcome email (as per above screen shot). This will include a password reset link which the employee can use to set their password accordingly. Alternatively, the employee always has the option to click 'forgotten password' on login to generate a reset themselves.
Bulk User Import
- Login to your CultureAI admin dashboard
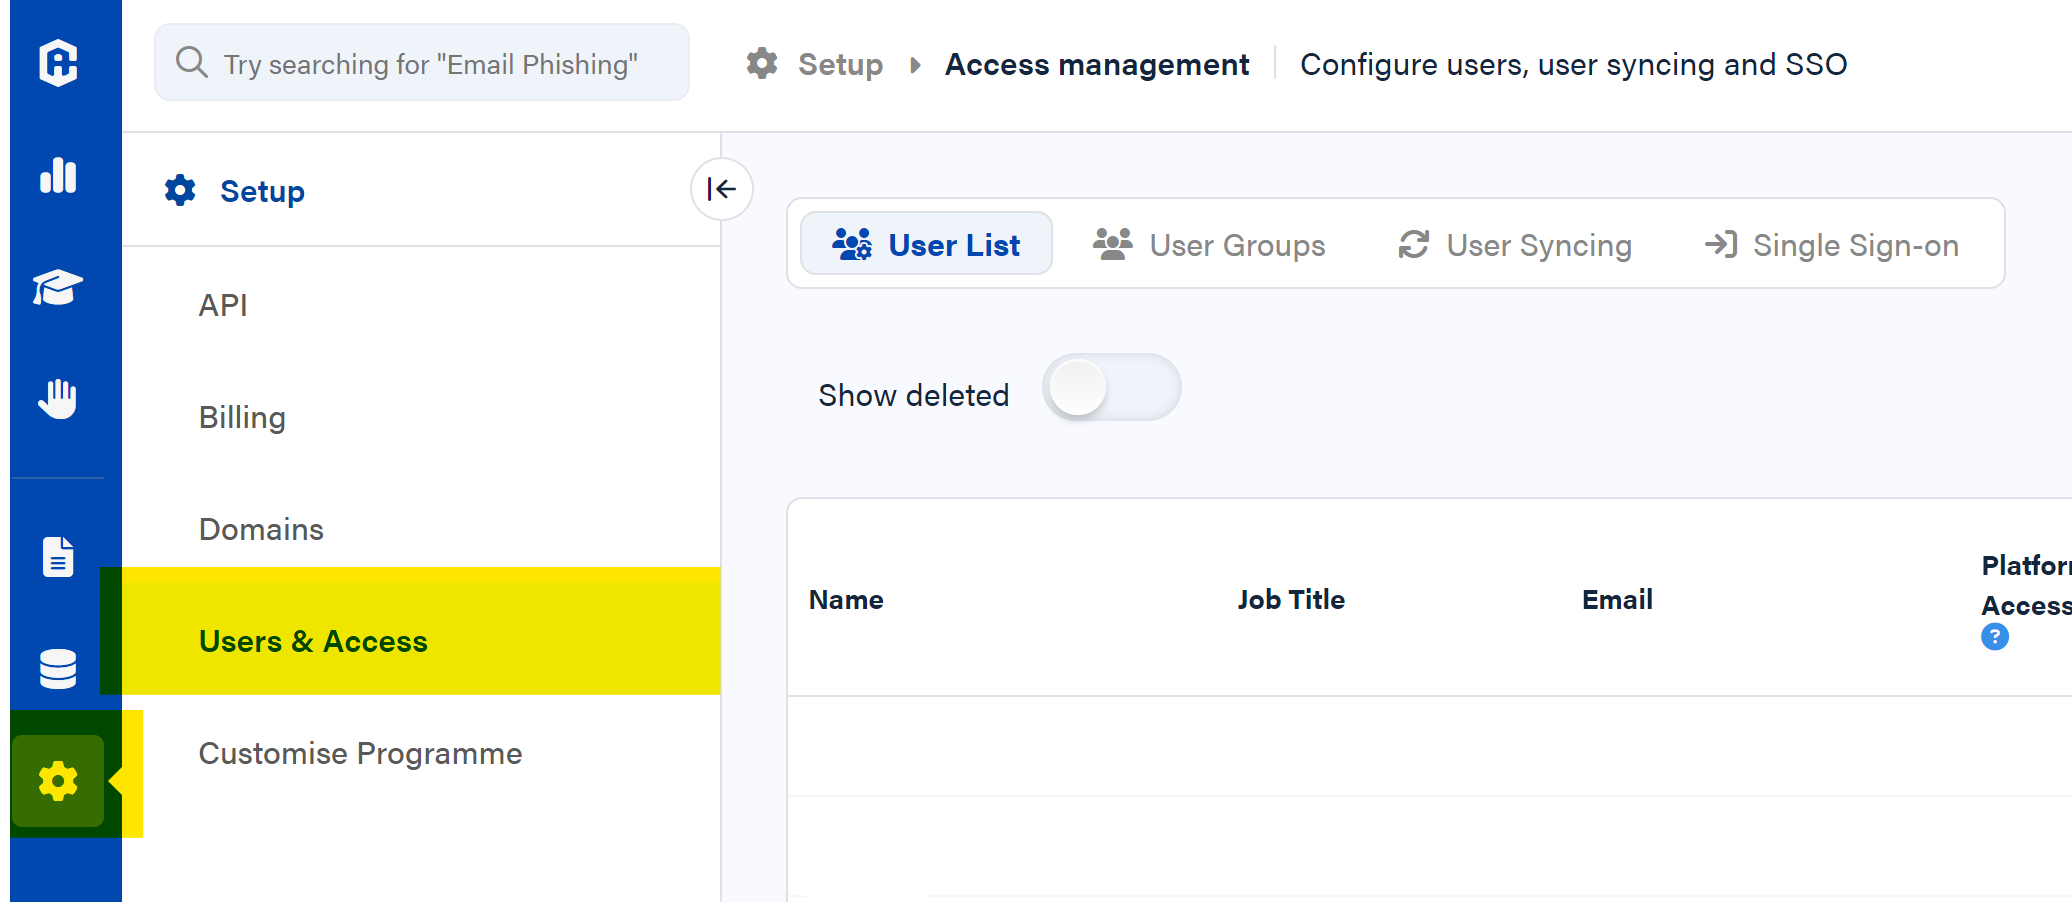
- Once logged in, click the Configuration cog ⚙️
- Click the 'Users & Access' tab
- Click the 'Actions' dropdown, then press 'Import Users'
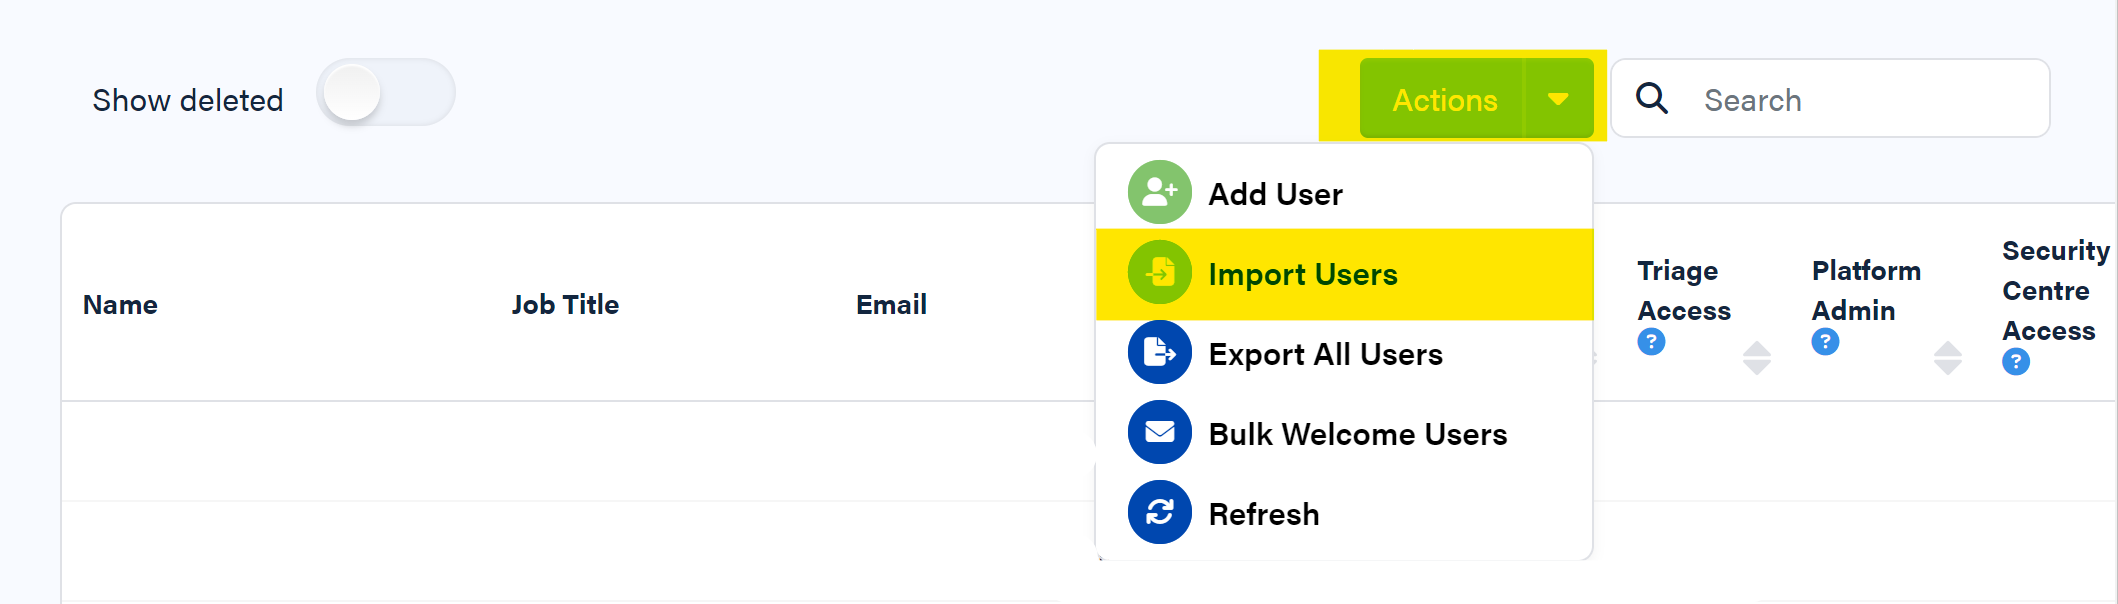
- You will be presented with a wizard to guide you through the process.
- Users are uploaded to the system through a CSV template with set of base column requirements. You can download an example template from the first tab:
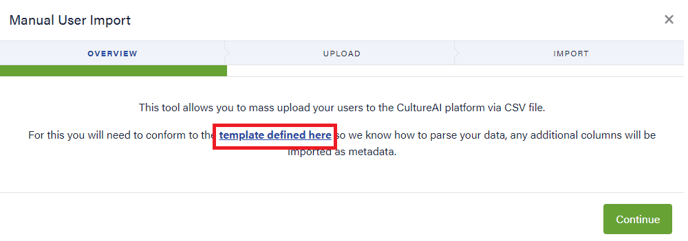
Note, you can add additional columns to the import. Any additional columns will be added to the user as metadata and can be subsequent used in the platform for filtering views. For example, you may want to include a 'Manager' or 'Team' column so you can logically group areas of risk and improvement. - All users have access to login to the CultureAI Security Centre to undertake training, view policies and utilize other enabled features. If you would like to them to have additional access, put a "Yes" in the applicable columns. Please click here to view the different access levels
- Press continue and upload the CSV file:
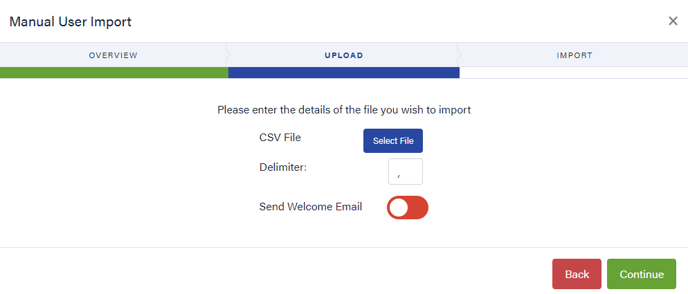
- If you would like to send the new users a welcome email which will contains a link to set the password (where single-sign-on is not enabled) you can also tick "Send Welcome Email". If you choose not to do this now, you can send individual or bulk welcome emails at a later date.
- Click continue to import the users.
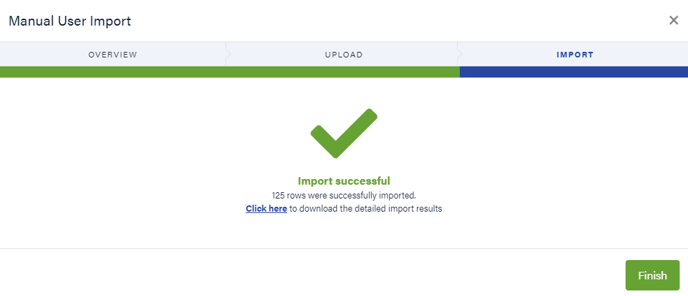
- The final screen confirms how many users were imported. If some users weren't imported, you can download a detailed list of results and review any errors. These can be moved into a new CSV and imported once corrected.